For further build details click on the link below: https://www.youtube.com/watch?v=NDRjfV4w7vM&t=2s
Some thoughts before you get started:
Build video: https://www.youtube.com/watch?v=NDRjfV4w7vM&t=2s
Introductory video: https://youtu.be/L835ZeT_Qz0
STF files on thingiverse: https://www.thingiverse.com/thing:6745498
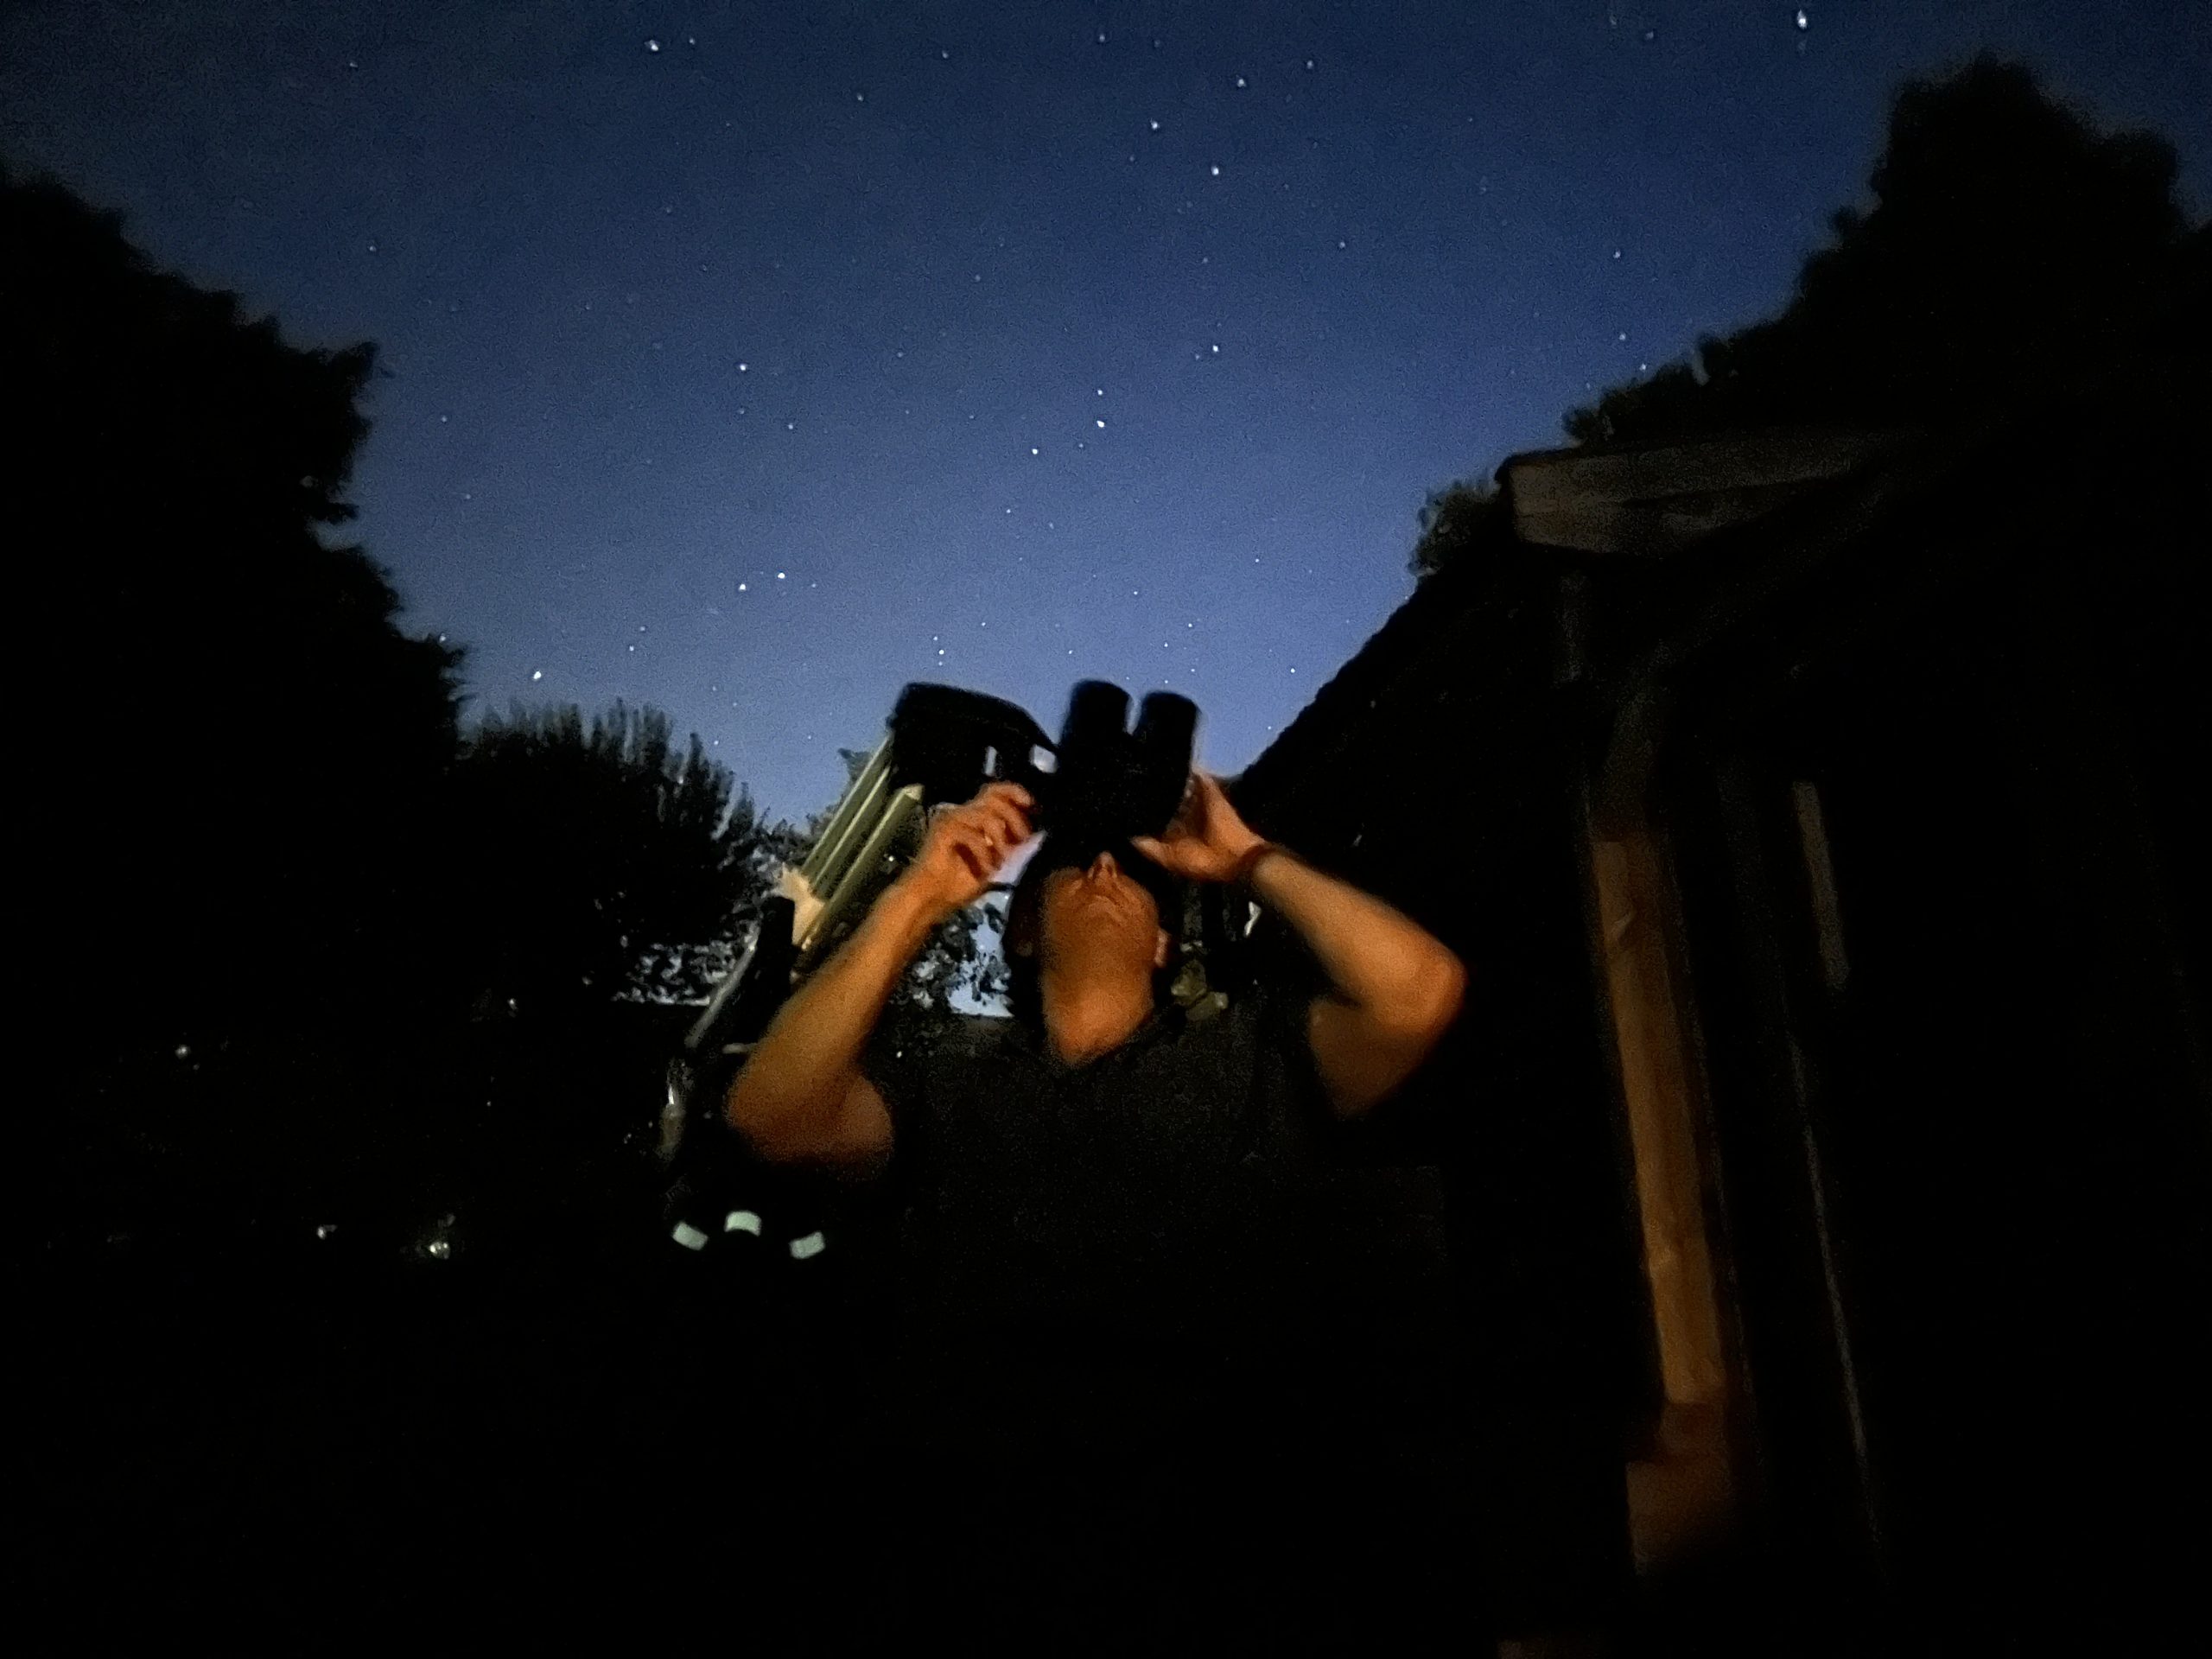
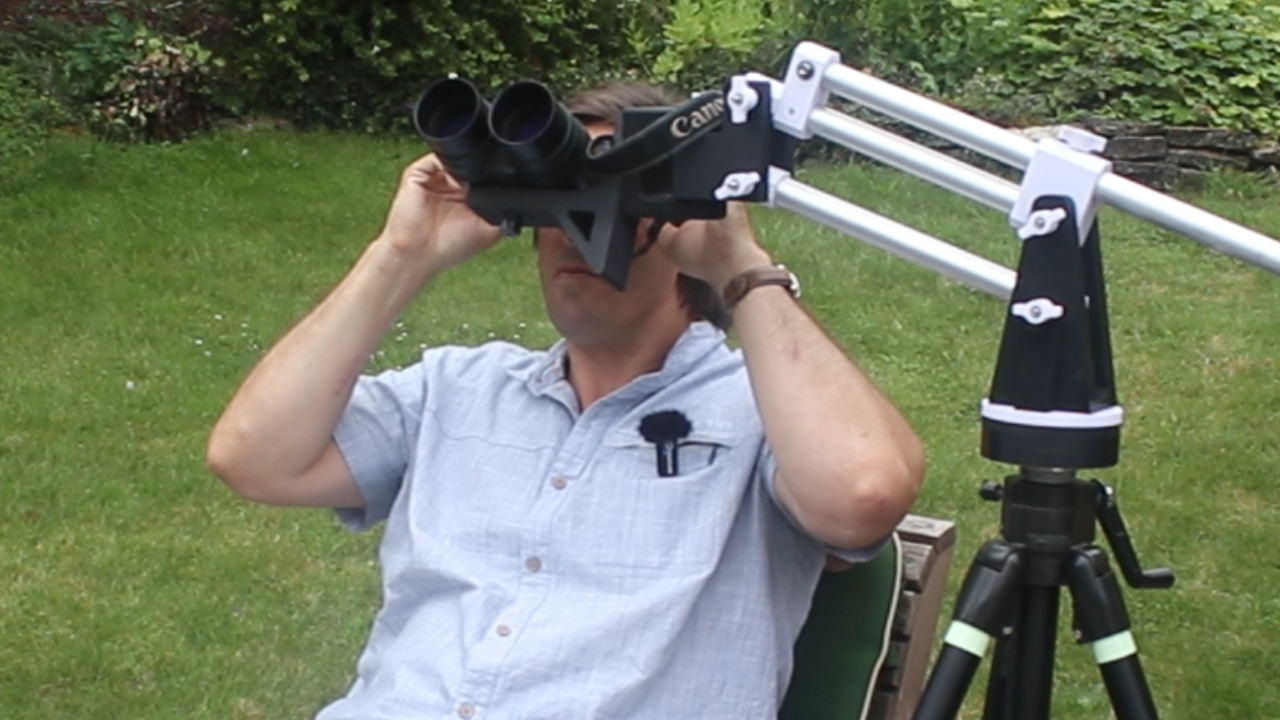
This mount is suitable for smaller binoculars (handheld size). It carries my 15×50 Canon binoculars but I am not sure I would want to mount a larger set up.
I mounted these on my elderly Triton tripod from Telescope Express in Germany. Alas it looks like this is out of production but it does look remarkably similar to: https://www.teleskop-express.de/en/phototripods-and-binomounts-97/phototripods-without-head-292/omegon-titania-800-aluminum-photo-tripod-13196 . My lightweight travel tripod was a bit too flimsy with the long moment arms so please do chose an appropriate tripod; bearing in mind the overall weight and long moments of this setup.
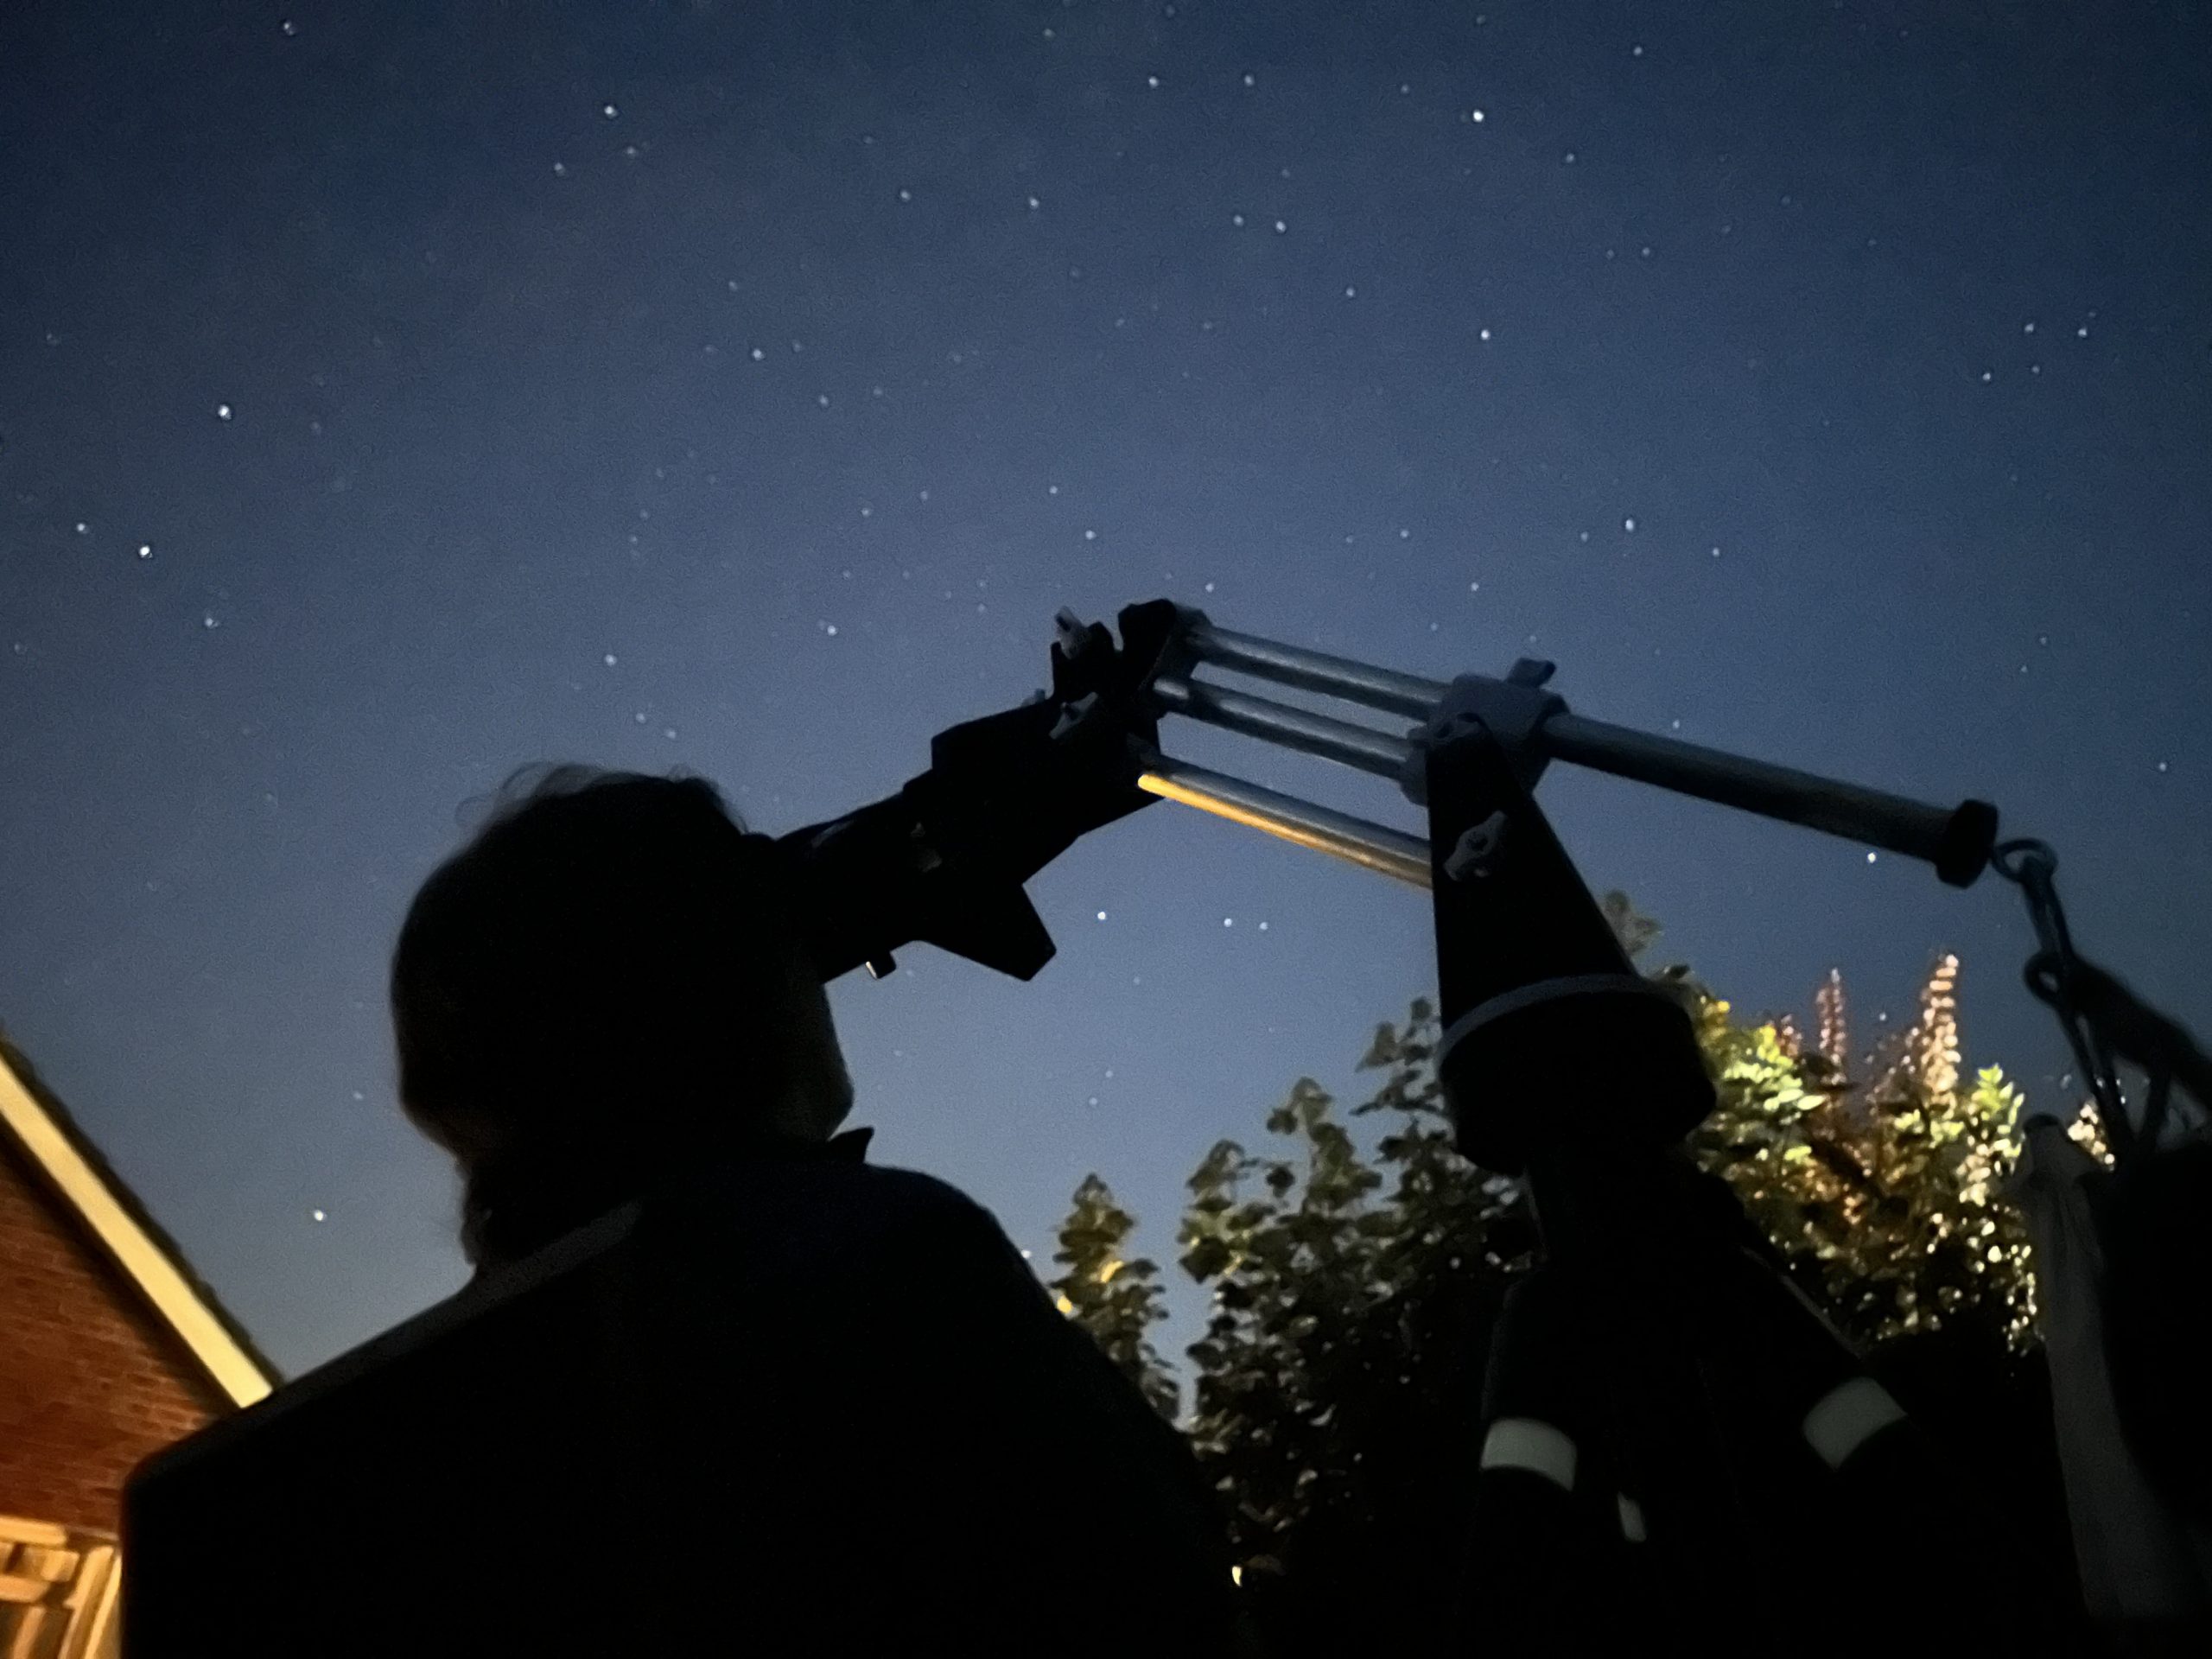
I have yet to develop the counterweight solution. A simple 2kg dumbbell on a carabiner seems to work quite well (making sure it does not bang into the tripod legs). If travelling, a bag with water bottles, rocks etc could be hung instead. Of course, the dumbbell with its 1” bore will fit on to the 1” tube and can be clamped or taped into place (perhaps that is the approach I will go with).
To avoid rusting, I suggest using stainless steel fasteners. The parts list below has links to what I ordered.
For the 3D parts, I suggest printing in PETG rather than the traditional PLA. PETG has a much higher plastic temperature than PLA so the mount can be left in a car on a sunny day without deformation.
Rather than buy more thumbscrews and fasteners, I 3D printed my own and put the supplied nuts inside. Of course, there are many options if you chose to buy your own.
Here are the links to what I ordered:
- Pack of various M6 stainless steel fasteners and nuts https://amzn.to/4diLZHc
- M6x100 stainless steel fasteners and nuts https://amzn.to/3SLaF2C
- M6 stainless steel washers https://amzn.to/3WZNowI
- Pack of M8x50 stainless steel fasteners and nuts https://amzn.to/3LXokjA
- Pack of M8x110 stainless steel fasteners and nuts https://amzn.to/3M2Qs4G
- M8 stainless steel washers https://amzn.to/3yxTH14
- Nylon tipped screws – I could not find thumbscrews with nylon tips so bought these and epoxied this to a 3D printed thumbscrew: https://amzn.to/3WJdN07
- 3/8 UNC serrated flange nut https://amzn.to/3MftkQs
- 2-part Araldite epoxy https://amzn.to/3YzUzwK
- 3D printer PETG filament https://amzn.to/3YGT0Nn
- Aluminium tubing https://www.ebay.co.uk/itm/192990852151?var=493194958892
Bill of Materials:
Base:
- Plinth Base
- Plinth Top
- 1-off 3/8 flanged nut to screw to the tripod
- 1-off M8 bolt hex head
Lower Arms
- Lower Arms
- Lower Arm Base
- Lower Arm Ribs
- 2-off M6x100 bolt hex head
- 2-off M6 thumbscrews and washers
- M8 thumbscrew
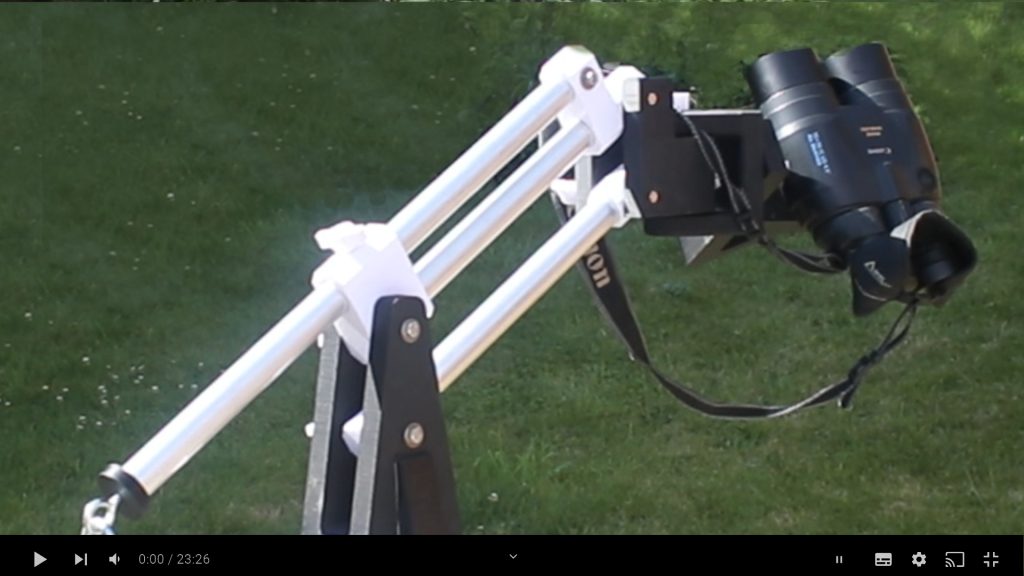
Arms
- 1-off 25mm dia 500mm length aluminium tube 1mm wall thickness
- 2-off 25mm dia 300m length aluminium tube
- 3-off Tube End Caps
- Counterweight Pivot
- Counterweight Slide
- M6 nut
- M6 thumbscrew with nylon tip
- M6x40 fastener, washers and nut
- Counterweight end stop
- M8 eye hook
Binocular Section
- Upper Arms
- 2-off M6x100 bolt hex head
- 2-off M6 thumbscrews and washers
- Upper Arms Azimuth Pivot
- M8x100
- Upper Arms Altitude Pivot
Thumbscrews – optional whether you print these, buy or make do with the nuts in the original packs
- M6 thumbscrew for arms
- M8 thumbscrew for binocular altitude and azimuth pivots
- M8 thumbscrew for lower arm & plinth assembly
- M6 thumbscrew with nylon tip for the sliding counterweight
Assembly Instructions
Print the parts on your 3d Printer.
Note the lower arms are printed on their side to avoid stress.
Plinth
- Epoxy 3/8 nut to plinth base
- Epoxy M8x 50 bolt to plinth upper
- Epoxy plinth base to plinth upper
- Once the epoxy has cured, screw the assembled plinth to the 3/8 screw on top of a camera tripod.
Lower Arms
- Epoxy Lower arms, Lower arm base, and Lower arm ribs together to make the Lower Arms structure. Set aside to allow the epoxy to cure.
- Epoxy M8 eye into Counterweight End Stop.
- Epoxy Counterweight End Stop to 500mm tube – ensure left in vertical position for carabiner to attach.
- Place Tube End Caps on aluminium tube and use the M6.5 holes as a guide to drill M6 holes through the aluminium tubing. Note the drill holes must be parallel so I suggest using tape to hold the Tube End Caps in place without rotation. A drill press is advised.
- Deburr and smooth the drill holes; clean inner and outer surfaces.
- Assemble Tube End Caps on the ends of the 300mm length aluminium tubing.
- Mount the Lower Arms onto the Plinth and hold in place with the M8 thumbscrew
- Assemble Arms inside the Lower Arm assembly using M6x100 bolts; hold loosely in place with washers and thumbscrews.
- Put M6 nut inside the Counterweight Pivot; screw M6 nylon tipped thumbscrew (to hold the nut in place and out of the way) and then pass 500mm aluminium tube through the counterweight pivot.
- Put the counterweight slide onto the upper 300mm tube, hold in place with M6x40 fastener.
Binocular section
- Mount the Upper Arms to the 300mm aluminium tubes by passing the M6x100 fasteners through the Tube End Caps. Fix washers and hold loosely in place with M6 thumbscrews.
- Mount the Altitude Pivot to the Azimuth Pivot using M8x50 fastener and thumbscrew
- Mount Azimuth Pivot to the Upper Arms with an M8x110 fastener and thumbscrew.
Pre-Flight Checks
- Carefully check all fasteners are finger tight, washers are in place, everything is aligned.
- Check the plinth is securely attached to the tripod.
- Hang counterweight on eye with carabiner / cord. Check securely attached.
- Mount binoculars to Altitude Pivot. Again, check it is secure attached.
- Check all fasteners are tight, no loose parts etc.
- Adjust the Counterweight position by loosening the M6 nylon tipped thumbscrew, sliding the counterweight to the correct position so the parallelogram balances and then retightening the nylon tipped thumbscrew.
- Finally, go observing!